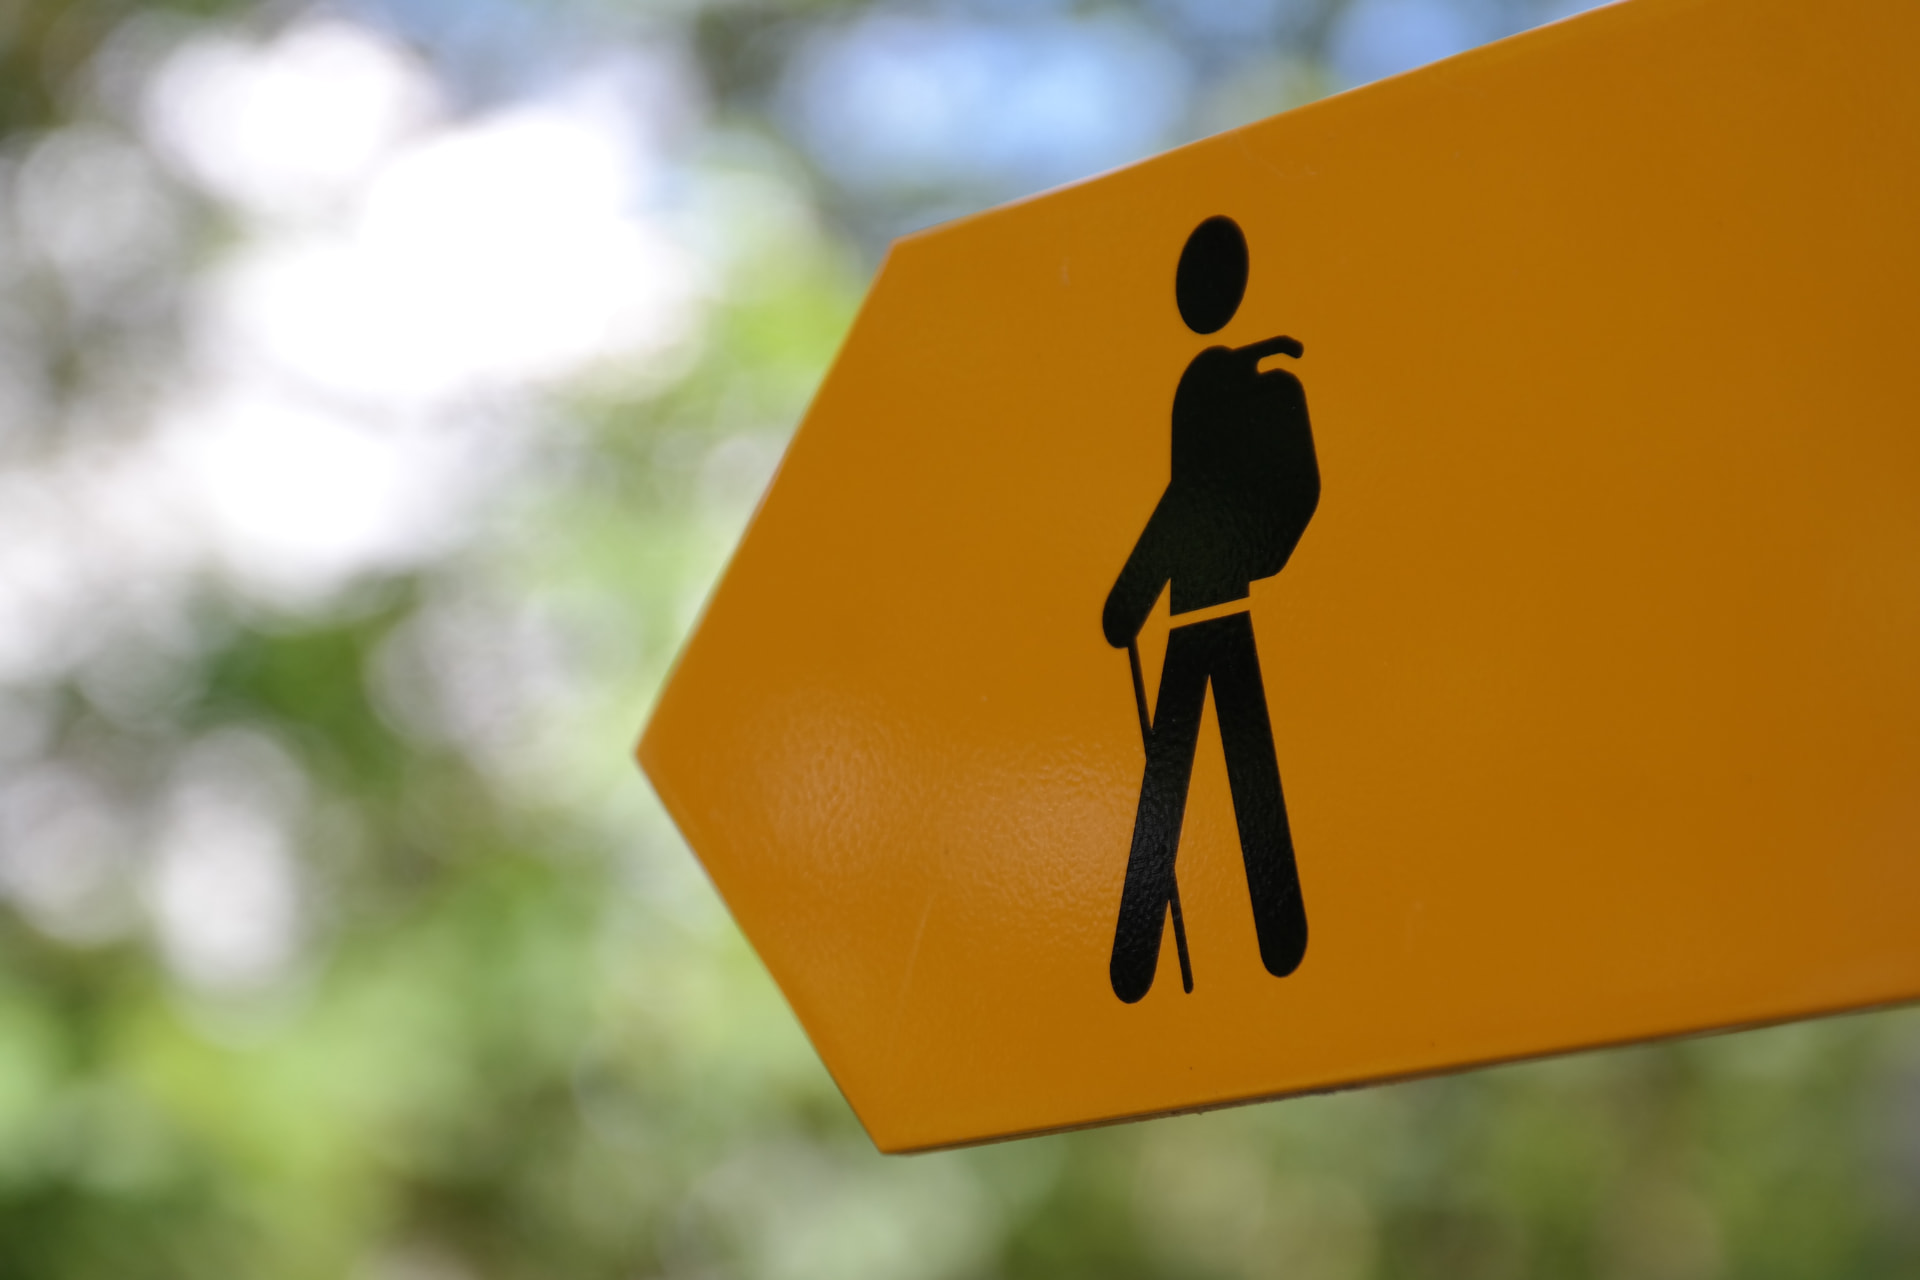
© Pixabay/Majaranda
Hiking trail signage in Switzerland
Switzerland's hiking network covers roughly 65,000 kilometres with uniform signage. If you can read the signs, you know before you start what the route holds – and can match fitness, footwear and timing to it.
6 min read
In short
Yellow = walking on easy paths. White-red-white = mountain hiking, sure-footedness required. White-blue-white = alpine terrain with climbing sections, glaciers or firn.
The three trail categories
Each category has its own demands on the path, your skills and your gear.

Hiking trail
SAC T1
- Terrain
- Mostly flat to gently rising and easy to walk. Exposed spots are secured, streams are crossed on bridges.
- Requirements
- No special requirements. Fine with children or as a first outing.
- Gear
- Comfortable shoes with grip, a rain jacket, water and sun protection are enough.
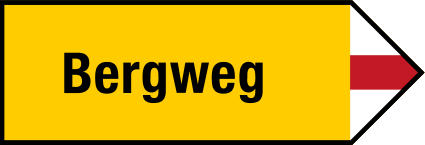
Mountain trail
SAC T2–T3
- Terrain
- Partly steep and narrow, often stony. Short exposed sections may be secured with chains or cables.
- Requirements
- Sure-footedness, a head for heights and decent basic fitness. Check weather and timing beforehand.
- Gear
- Ankle-high boots, poles, a warm layer, a map or offline map on your phone.

Alpine trail
SAC T4–T6
- Terrain
- High-alpine terrain: scree, firn, glaciers, climbing passages. The path is not always continuously visible.
- Requirements
- Alpine experience, excellent sure-footedness, navigation skills and sometimes rope and glacier technique.
- Gear
- Crampon-compatible boots, plus ice axe, rope and helmet depending on the route. If in doubt, go with a mountain guide.
Winter hiking trails
Winter has its own signage: pink signposts with a hiker symbol mark prepared, monitored winter hiking trails. They complement the three summer categories and apply only during the winter season.
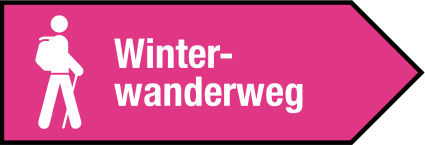
- Terrain
- Cleared or groomed paths in the snow, mostly in valleys and pre-alpine areas. They are signposted by the operator and checked regularly.
- Requirements
- No special technique needed, but expect hard snow and short daylight. Stay on the trail — beside it there is avalanche and fall risk.
- Gear
- Warm waterproof boots with good grip, layered clothing, gloves, a hat and, depending on conditions, spikes or poles.
Winter hiking trails
Don't confuse them: snowshoe routes are also pink but lead into open terrain and require avalanche knowledge, while winter hiking trails stay on prepared tracks.
Snowshoe trails
Snowshoe trails are also signposted in pink, but the snowshoe symbol leads into open, ungroomed terrain. They are recommended routes, not cleared paths, and require your own avalanche assessment.
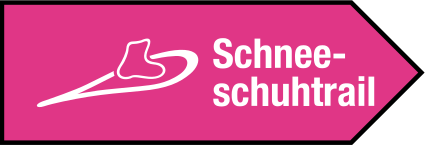
- Terrain
- Ungroomed winter terrain away from paths: open slopes, forest lanes and alpine pastures, marked with pink poles and signposts.
- Requirements
- Good fitness, familiarity with the avalanche bulletin and basic tour planning. Always respect wildlife sanctuaries and young forest areas.
- Gear
- Snowshoes and poles, warm waterproof boots and, in avalanche terrain, a transceiver, shovel and probe — plus practice using them.
Snowshoe trails
Remember: pink with a hiker symbol means a prepared winter path; pink with a snowshoe symbol means an open-terrain route at your own risk.
The SAC hiking scale T1 to T6
The Swiss Alpine Club grades routes more finely than the colours do. Many route descriptions – including on OhMyAlps! – use these levels.
- t1
Hiking: wide, well-built paths. Risk of falling largely excluded.
- t2
Mountain hiking: continuous path, partly steep. Sure-footedness helps.
- t3
Demanding mountain hiking: exposed spots, hands occasionally needed for balance.
- t4
Alpine hiking: path partly missing, easy climbing sections, terrain sense required.
- t5
Demanding alpine hiking: climbing sections, firn fields, alpine experience mandatory.
- t6
Difficult alpine hiking: mostly pathless, exposed climbing, glaciers often involved.
Reading the signpost correctly
Destinations and waypoints
The next waypoint is on top, the far destination below. The location name and altitude are on the cross-field.
Times in hours and minutes
Times assume steady walking with no breaks or photo stops, in good conditions. Add time for breaks, heavy packs, wet ground or children.
Confirmation waymarks
Colour stripes on rocks, trees or walls confirm you are still on track. If markings stop for a long stretch, return to the last confirmed point.
Signposts with a white destination field
A white field on the yellow signpost means the path turns into a mountain trail further up – a cue to double-check your gear.
What does this mean for your hike?
What does this mean for your hike?
Pick the category for the least experienced person in the group, not the strongest. Set a turnaround time and check weather and trail closures shortly before you start.
Based on the official signage standards of Swiss Hiking Trails and the SAC hiking scale.